Serveur CUPS (impression)
Objectif et environnement
Objectif
L’installation d’un serveur d’impression sur linux avec CUPS et SAMBA sur un conteneur Linux.
Environnement
Matériels :
Dell PowerEdge r240 avec Proxmox 7.1-7
Adressage des VMS :
Réseaux : 172.28.0.0/16
Serveur CT-SRV-CUPS : 172.28.1.213
Documentation
Processus
Installation des logiciels d’authentification sur le domaine
sudo apt install acl realmd libnss-winbind winbind
Joindre la machine virtuelle au domaine
Installer Kerberos
sudo apt install krb5-user
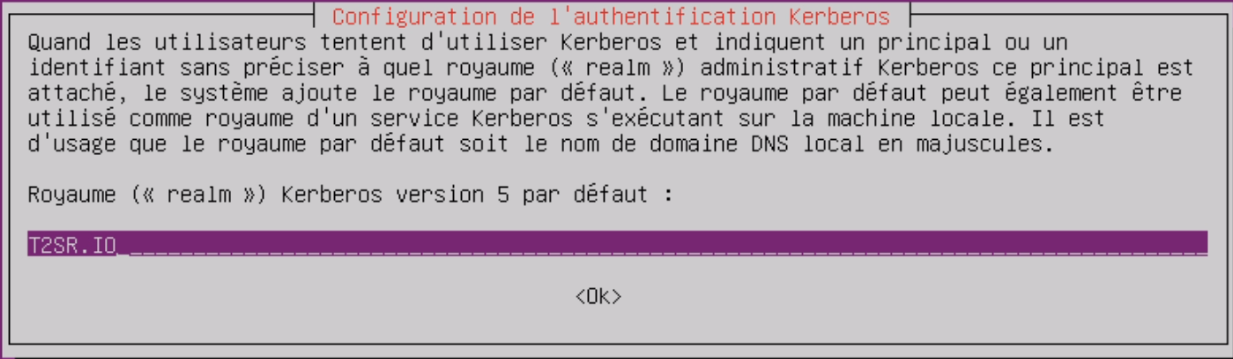
On a édité le fichier /etc/krb5.conf
[libdefaults]
        default_realm = T2SR.IO

[realms]
        T2SR.IO = {
                kdc = srv-w19-ad.t2sr.io
                admin_server = srv-w19-ad.t2sr.io
                default_domain = t2sr.io
        }

[domain_realm]
        .t2sr.io = .T2SR.IO
        t2sr.io = T2SR.IO

[login]
        krb4_convert = true
        krb4_get_tickets = false
Installation SAMBA
sudo apt update && sudo apt upgrade -y
sudo apt install -y samba
Modifier le fichier /etc/samba/smb.conf
# Change this to the workgroup/NT-domain name your Samba server will part of
   workgroup = T2SR

# Hide lost+found
hide files = /lost+found/

# Most people will want "standalone server" or "member server".
# Running as "active directory domain controller" will require first
# running "samba-tool domain provision" to wipe databases and create a
# new domain.
   server role = member server

# This option controls how unsuccessful authentication attempts are mapped
# to anonymous connections
   map to guest = bad user

# Ajout ACL
nt acl support = yes
inherit acls = yes
username map = /etc/samba/user.map
map acl inherit = yes
map archive = no
map hidden = no
map read only = no
map system = no
store dos attributes = yes
inherit permissions = yes
security = ADS
realm = T2SR.io

template shell = /bin/bash

# Ajout parametres
idmap config example : schema_mode = rfc2307
idmap config example : range = 10000000-29999999
idmap config example : default = yes
idmap congig example : backend = rid
idmap config * : range = 20000-29999
idmap config * : backend = tdb
winbind use default domain = true
sudo apt install -y ntp
On a modifié le fichier /etc/ntp.conf comme suite :
#pool 0.ubuntu.pool.ntp.org iburst
#pool 1.ubuntu.pool.ntp.org iburst
#pool 2.ubuntu.pool.ntp.org iburst
#pool 3.ubuntu.pool.ntp.org iburst

# Use Ubuntu's ntp server as a fallback.
#pool ntp.ubuntu.com

NTPSERVERS="SRV-W19-AD.t2sr.io"
NTPOPTIONS="-u"
Redémarrer ntp et smbd
systemctl restart smbd ntp
Nous avons rentré notre serveur samba dans le domaine
net ads join -S SRV-W19-AD -U Administrateur joined srv-ubu-smb to realm t2sr.io
# Redémarrer winbind
systemctl restart winbind
Configurer NSS
Nous avons modifié le fichier /etc/nsswitch.conf
passwd:     files systemd winbind
group:      files systemd winbind
shadow:     files winbind
Pour vérifier si tout est fonctionnel jusqu’au présent
root@CT-DEB-CUPS:~# realm discover -v t2sr.io
 * Resolving: _ldap._tcp.t2sr.io
 * Performing LDAP DSE lookup on: 172.28.1.200
 * Successfully discovered: t2sr.io
t2sr.io
  type: kerberos
  realm-name: T2SR.IO
  domain-name: t2sr.io
  configured: no
  server-software: active-directory
  client-software: sssd
  required-package: sssd-tools
  required-package: sssd
  required-package: libnss-sss
  required-package: libpam-sss
  required-package: adcli
  required-package: samba-common-bin
Préparation PAM
# here are the per-package modules (the "Primary" block)
account [success=2 new_authtok_reqd=done default=ignore]        pam_unix.so
account [success=1 new_authtok_reqd=done default=ignore]        pam_winbind.so
pam-auth-update
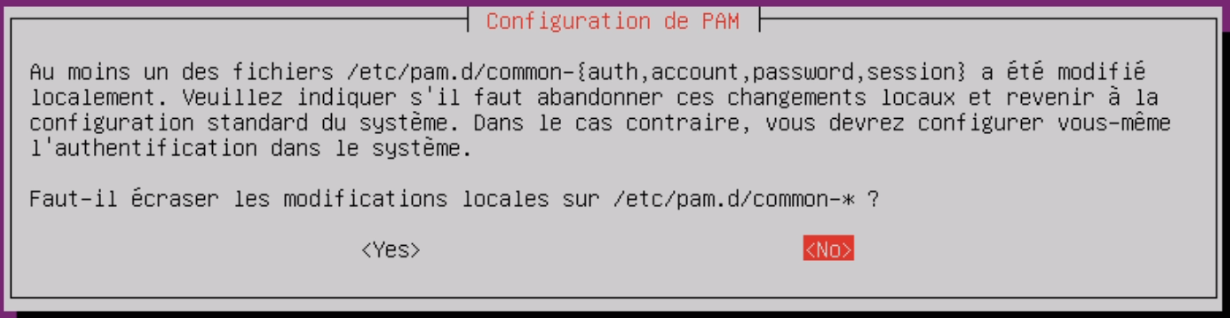
Nous avons sélectionné Non.
Nous avons modifié le fichier /etc/pam.d/common-auth
# here are the per-package modules (the "Primary" block)
auth    [success=2 default=ignore]      pam_unix.so nullok_secure
auth    [success=1 default=ignore]      pam_winbind.so krb5_auth krb5_ccache_type=FILE cached_login try_first_pass
Nous avons modifié le fichier /etc/pam.d/common-password
# here are the per-package modules (the "Primary" block)
password        [success=2 default=ignore]      pam_unix.so obscure sha512
password        [success=1 default=ignore]      pam_winbind.so use_authtok try_first_pass
Nous avons modifié le fichier /etc/pam.d/common-session
# and here are more per-package modules (the "Additional" block)
session required        pam_unix.so
session optional        pam_systemd.so
session optional        pam_winbind.so
session optional        pam_mkhomedir.so
session required        pam_mkhomedir.so skel=/etc/skel
Configuration du fuseau horaire (choix France/Paris)
dpkg-reconfigure tzdata
Configuration CUPS
apt install cups
systemctl enable cups
systemctl start cups
Sauvegarder le fichier de configuration CUPS avant de le modifier :
cp /etc/cups/cupsd.conf /etc/cups/cupsd.conf.bkp
Le fichier cupsd.conf
# Only listen for connections from the local machine.
Port 631
Listen /run/cups/cups.sock
# Restrict access to the server...
<Location />
  Order allow,deny
  Allow @local
</Location>

# Restrict access to the admin pages...
<Location /admin>
  AuthType Default
  Require valid-user
  Order allow,deny
  Allow @local
systemctl restart cups
Installation Avahi-daemon
apt install -y avahi-daemon
systemctl enable avahi-daemon
systemctl start avahi-daemon
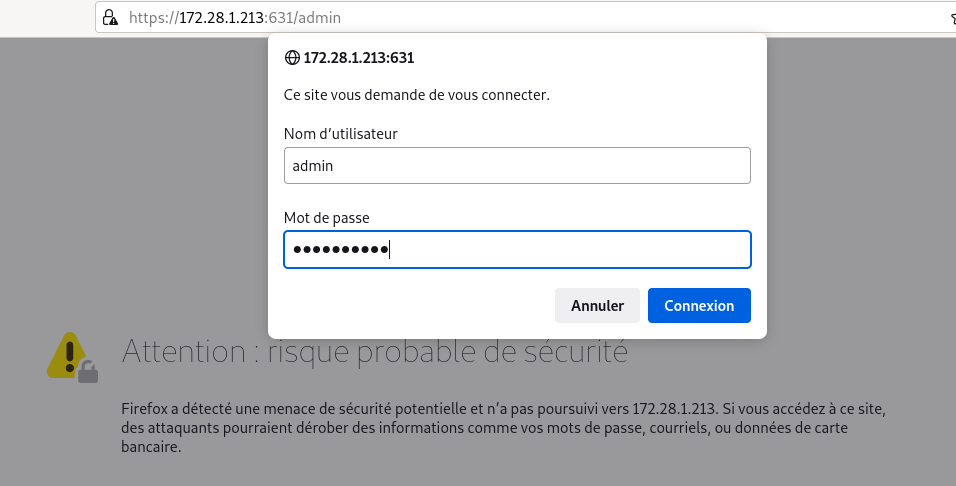
Accès à l’interface d’administration
https://172.28.1.213:631/admin
(J’ai accepté les risques liés à la certificat SSL utilisé par CUPS)
J’ai renseigné mes identifiant
J’ai accédé à la page d’administration de mon serveur CUPS.
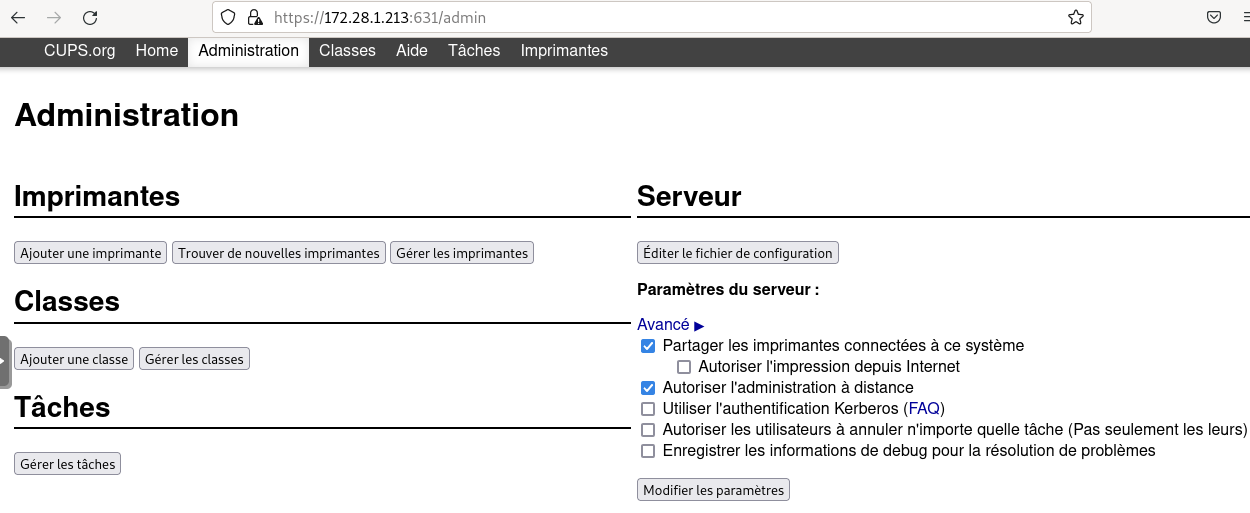
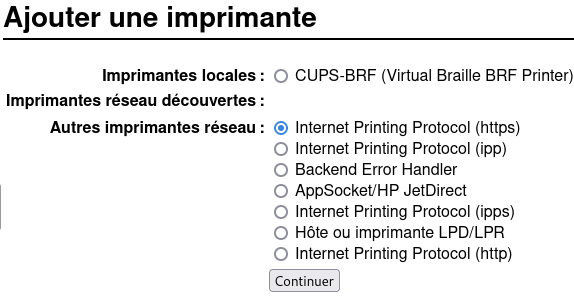
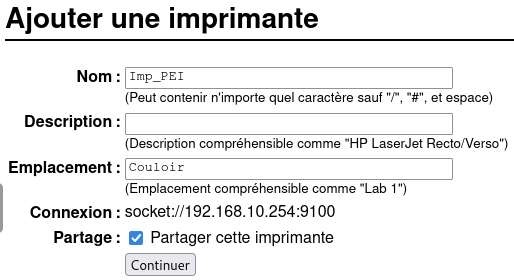
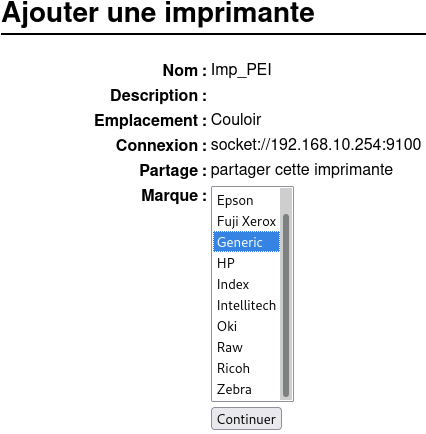
Ajouter une imprimante
Administration > Imprimantes > Ajouter une imprimante

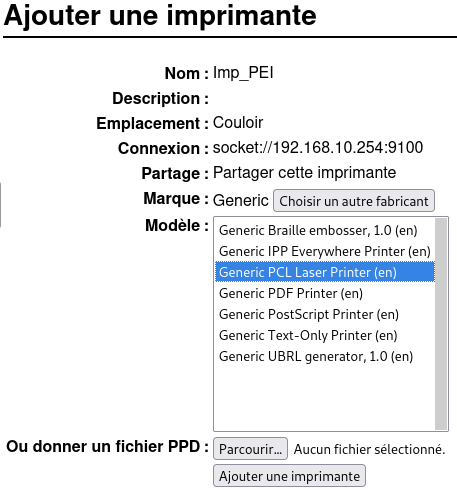
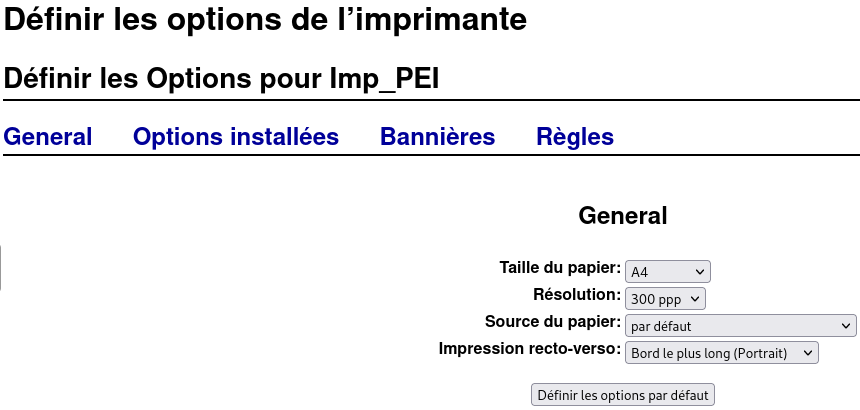
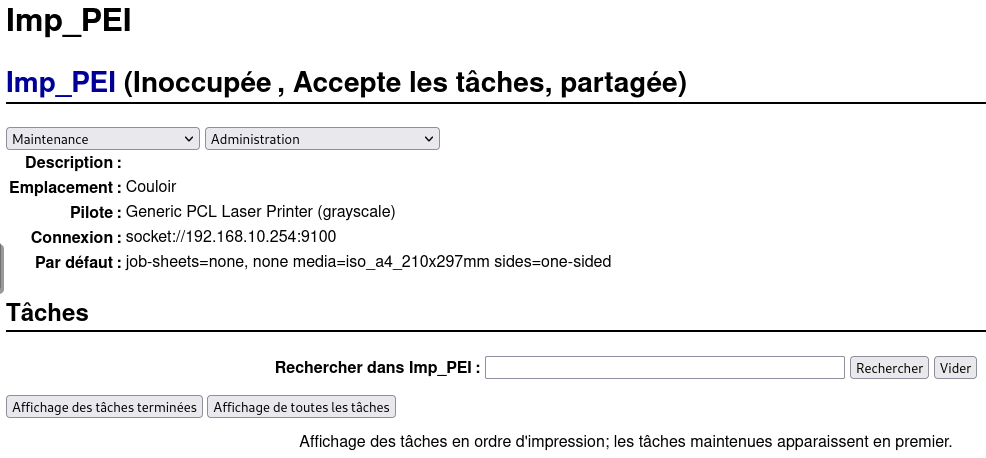
L’imprimante Imp_PEI a été jouté avec succès.
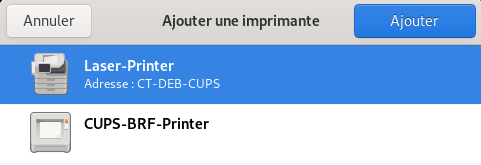
Ajouter une imprimante aux clients
Sous Linux (Debian)
Paramètres > Imprimantes

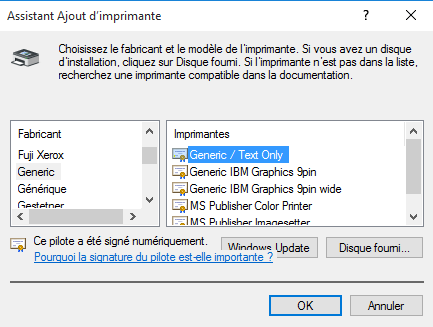
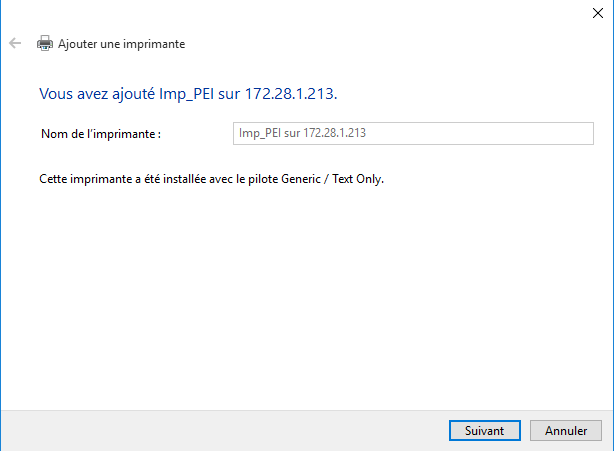
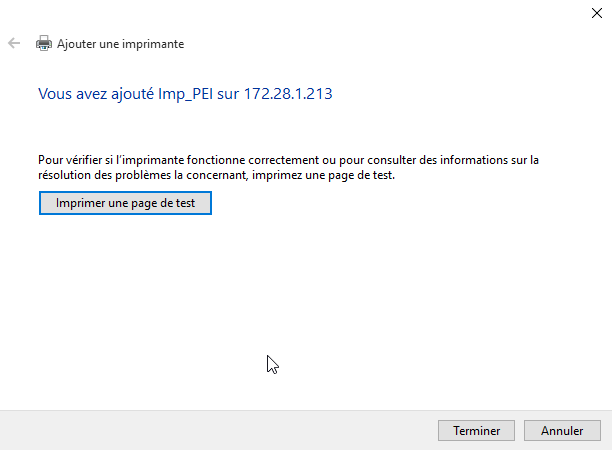
Sous Windows 10
Menu Paramètres > Périphériques > Imprimantes et scanners > Ajout une imprimante
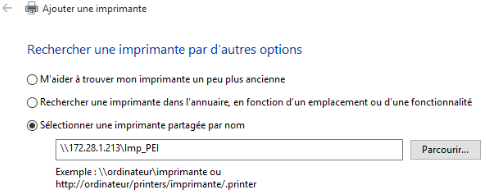
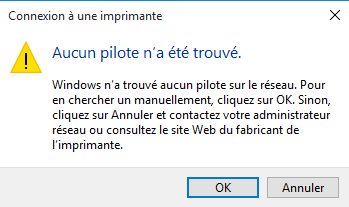
Nous avons la possibilité choisir le pilot d’imprimante
Conclusion
CUPS est un outil léger pour ajouter une imprimante en réseaux, néanmoins l’ajout de pilotes propriétaires peut être fastidieux.